Using a Laser Pointer to Frame Your Shot Before Long Exposure: A Practical Approach for Astrophotographers
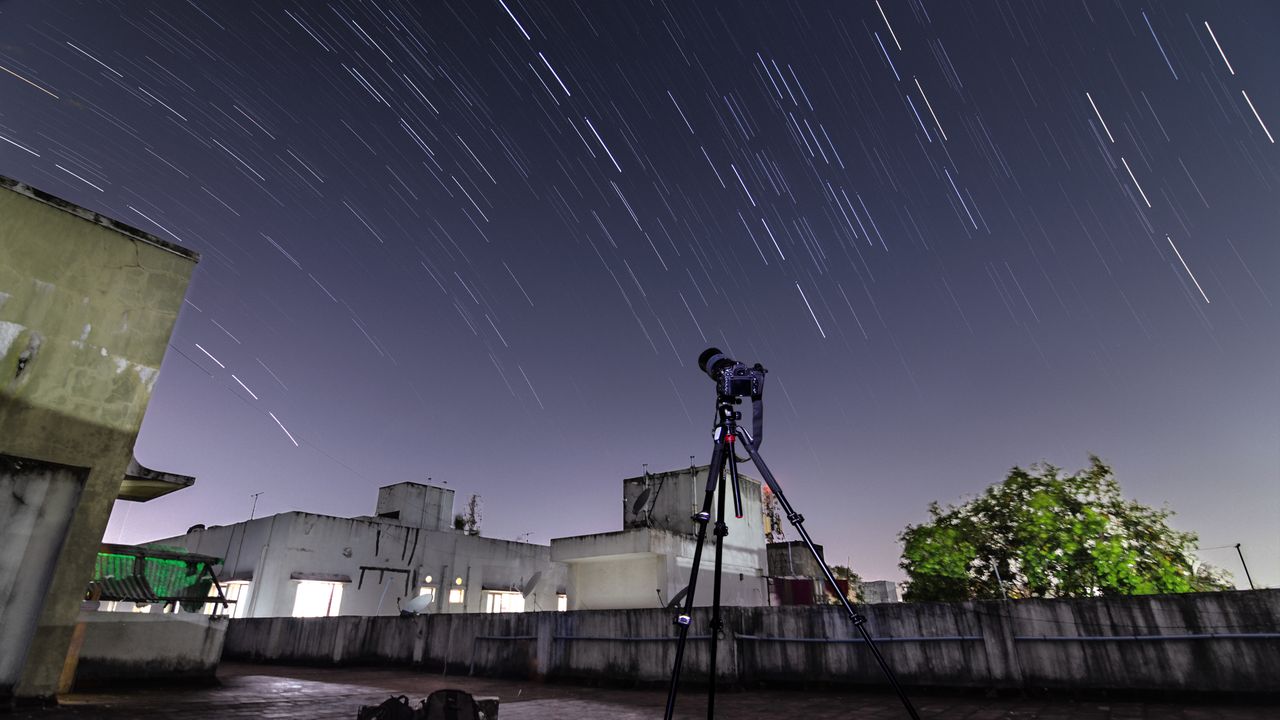
Composing a shot in the dark is one of the more frustrating parts of astrophotography, especially when the target is a faint object that won’t show up in a live view preview until after the first test exposure. The standard workflow — point roughly in the right direction, take a 30-second test shot, check the result, adjust, repeat — works, but it’s slow. When you’re chasing a narrow window between moonrise and dawn, or trying to get the composition right before a constellation moves behind a tree line, burning time on iterative test shots feels like a poor use of the conditions you waited weeks for. A laser pointer, used at the right moment in the setup process, reduces that iteration.
What the laser actually helps with
A laser pointer doesn’t replace the composition process — it accelerates the initial alignment. The specific problem it solves is the disconnect between where the camera is pointing and where specific stars or regions of the sky are located. When you’re framing a wide-field shot that includes a particular bright star as an anchor point, being able to hold the laser along the camera axis and trace it to that star confirms the alignment before you commit to a test exposure.
This is most useful in three scenarios: wide-angle shots where you’re trying to include a specific constellation or Milky Way structure within a landscape frame; shots where a bright foreground element (a tree, a rock formation, a building) needs to be positioned relative to a specific point in the sky; and situations where you’re shooting in an unfamiliar location and don’t have a mental map of where things will appear in the frame at a given focal length.
For longer focal lengths and planetary imaging, the laser isn’t directly useful for alignment — the field of view is too narrow for that kind of rough pointing. But in the wide-field landscape-astrophotography range where most people are working (14mm to 50mm), the difference between a star being in the frame or just outside it is a matter of a few degrees of camera angle, and that’s exactly the kind of adjustment a laser makes quick.
The practical technique
The approach is straightforward. After setting up the camera on the tripod, with the composition roughly estimated, hold the laser so it runs parallel to the camera’s optical axis — either alongside the body or mounted in the hot shoe with a simple adapter. Activate the laser and trace where it falls in the sky. If the star or region you’re using as your anchor point is visible relative to the beam, you can see immediately whether the camera angle needs to come up, down, left, or right before taking any exposure.
The key is running the beam parallel to the lens axis rather than along the top of the body, which introduces an offset. For most practical purposes — wide-angle shots where you’re aligning to something within a few degrees — the offset from holding the laser alongside the body by hand is negligible. For more precise work, a hot shoe mount that positions the laser close to the lens axis gives a more accurate result.
This technique works best at the coarse alignment stage, before you’ve locked the tripod head. Once you’re within a few degrees of the intended framing, switch to live view and test exposures for fine-tuning. The Laser Pointeur Astronomie is a rough pointing tool, not a precision instrument, and using it as one — trying to get exact framing from the beam alone — overestimates its accuracy.
Timing: before the dark adaptation matters
One underappreciated aspect of using a laser during setup is that it lets you do the coarse alignment phase quickly enough that you can then step away and let your eyes dark-adapt properly before the shooting session begins. The iterative test-shot workflow keeps you staring at a bright LCD screen throughout setup, resetting your dark adaptation repeatedly. If you can get the camera pointed roughly right in a minute using the laser, then lock the tripod and walk away from the screen, your eyes have a chance to reach useful dark adaptation before you start actually shooting.
This matters more for visual observers sharing the site than for the photographer, but for shots that depend on seeing faint nebulosity or for navigating around the site safely, arriving at dark adaptation faster has real value.
What to be careful about
The obvious safety consideration is never pointing a laser toward the horizon, toward other people, or toward any area where aircraft might be operating. This should go without saying, but it bears repeating: astronomical laser use assumes a clear sky overhead and a situation where the beam can be swept across the sky without risk of intersecting with anything other than air. At public observing events or sites where other photographers are working, checking whether anyone else is in the direction you’re pointing is basic courtesy before activating the beam.
Green lasers in the 5mW range are the standard choice for astronomical use — the green wavelength at 532nm is significantly more visible to dark-adapted eyes than red, making it possible to actually follow the beam and confirm where it’s pointing. Very high-power lasers aren’t needed for this purpose and create unnecessary risk. The goal is a beam visible enough to trace to a star, not to illuminate anything.
Integration with other composition tools
The laser technique pairs well with star chart apps that show a live sky map calibrated to your phone’s orientation. Use the app to identify which bright star should anchor your composition, orient yourself to where that star is in the sky, then use the laser to verify that the camera is pointed toward that region before taking the first test shot. The two tools address different parts of the problem: the app tells you where things are, the laser confirms the camera is pointed there.
For photographers who do regular astrophotography at the same locations, this process gets faster over time as the relationship between the landscape frame and the sky becomes familiar. For first visits to a location, especially at night when the terrain is harder to read, the laser alignment step saves the most time.